Showing posts with label Sweden. Show all posts

Friday, March 13, 2015

Cardamom Cake

I posted about this scrumptious cake just a few weeks ago and have had a few people request the recipe - so here it is in all its glory!


What I love about this cake is that it's a heartier, not overly sweet cake. I highly recommend tracking down some pearl sugar for the topping (IKEA carries it, as do specialty food stores). I'm sure normal sugar would work in a pinch, but then you miss out on the amazing texture and crunchiness the pearl sugar offers.

Swedish Cardamom Cake
1 cup butter or margarine
2 eggs
1 +1/4 cups sugar
3 + 1/3 cups flour
1 tablespoon baking powder
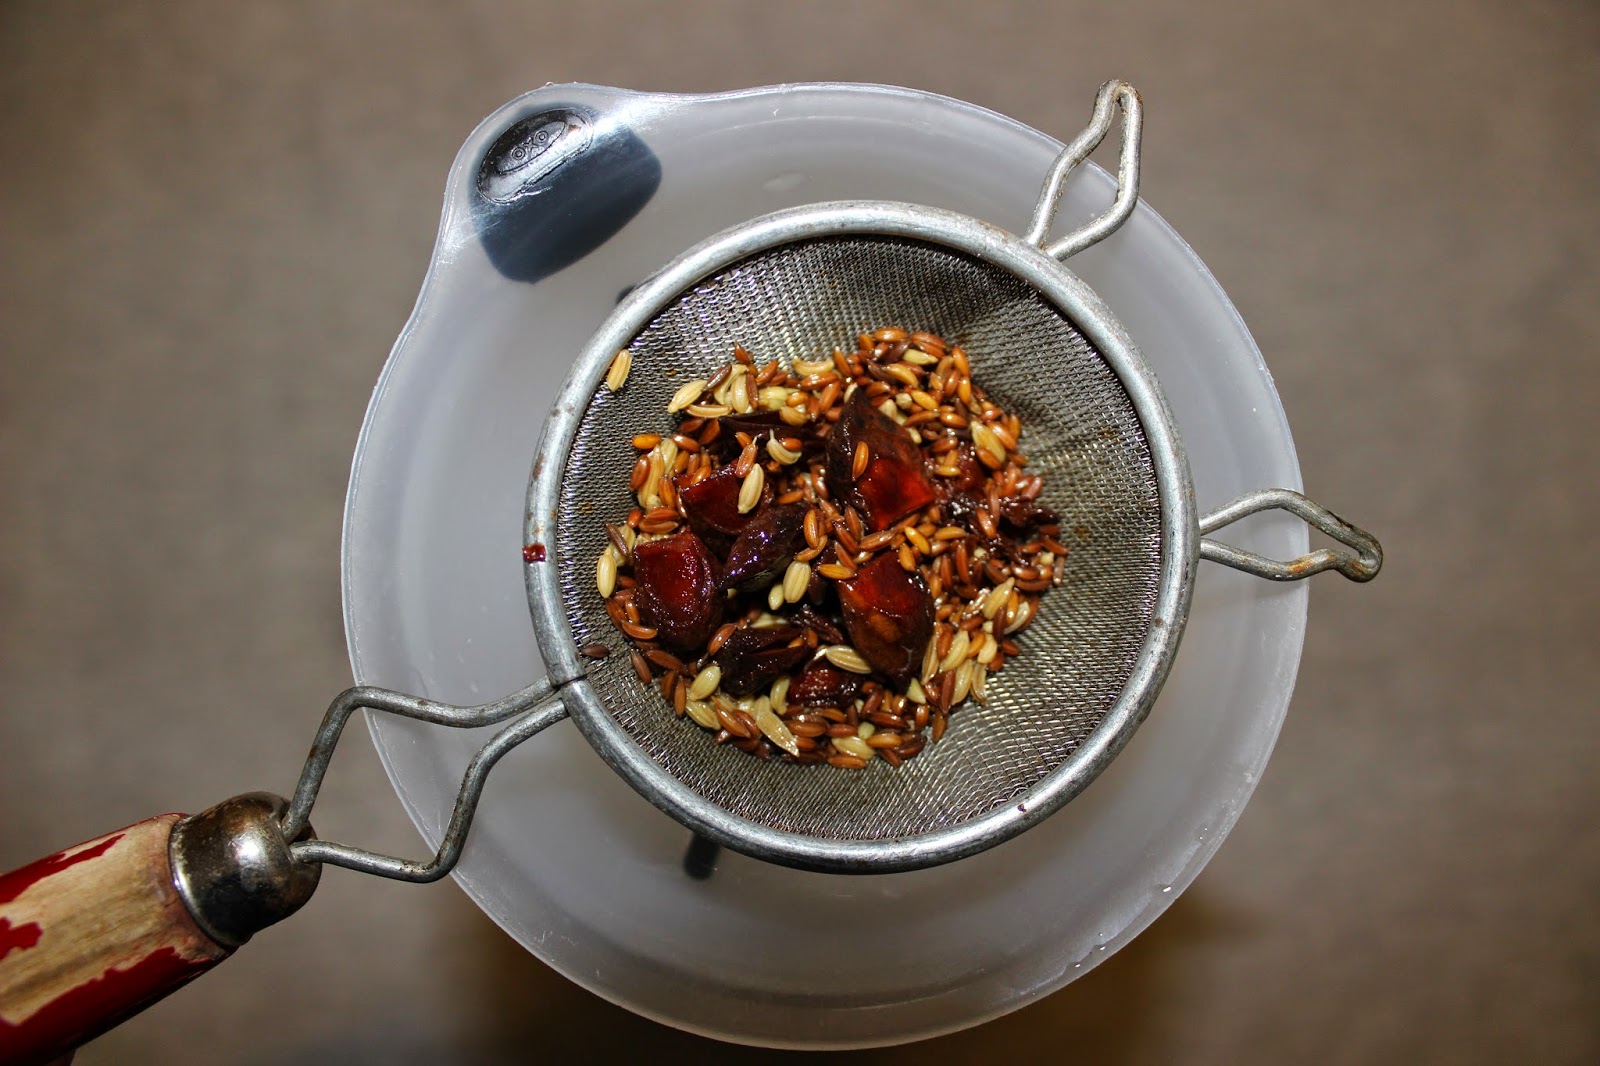
2 + 1/2 teaspoons ground cardamom
1 + 1/4 cups milk
Garnish: Pearl Sugar or coarsely chopped almonds (I prefer pearl sugar)

Grease a 10" round cake pan and preheat the oven to 350. Melt the butter and let it cool. Beat the eggs and sugar together until light yellow and very thick. Add all additional ingredients until combined. Pour into prepared pan and sprinkle with pearl sugar and/or almonds. Bake for approximately 1 hour - test to make sure it's fully baked. Let cool completely before serving.

Be sure to use freshly ground cardamom if you can - it really makes a difference!

I like to enjoy a slice of this cake with a nice cup of coffee and a friend or two.

Enjoy!

*Update: My sisters made this for my baby shower in a bundt pan and it worked out wonderfully! Just omit the pearl sugar on top, as it will stick to the pan and not release without leaving chunks of the cake behind (learned the hard way...). This way, you can also refer to it as more of a bread instead of cake and eat it for breakfast. :)

Sunday, November 23, 2014

Lucia Paper Dolls in shop!

Just checking in to let you all know that these brand new Swedish Paper Dolls are now up in my Etsy shop! This is a new item for my craft fair in just a couple weeks, and I thought I'd add it to my shop in case any of you Lucia lovers out there wanted to order some before December 13 [St. Lucia Day!]! I commissioned a friend of mine to do the drawing (since my drawing skills are quite abysmal) for this and I could't be more pleased with how they turned out!


The finished product obviously isn't printed with the 2014 Copyright watermark. It will come printed out on 8.5 x 11 cardstock, packaged in clear cellophane wrapping. 

Ok, back to crafting for the SWEA Christmas Market in just T-minus 13 days! Ah!

Sunday, September 14, 2014

5 Scandinavian Crafts

Lately I've been doing a little reminiscing. So, I decided to do a little roundup of some of my favorite Scandinavian-themed crafts that I've made over the years.

One of my all-time faves has definitely been the tomte tutorial! I made this sucker almost 4 years ago (get out, how does time do that?!)


Next up are these super easy + fun glass magnets. You pick out what you want them to say! I [obviously] chose Swedish words for fun.


And for all the babies in your life, this tutorial for how to stencil using freezer paper is fun. You can stencil anything you that can cut out, and ironing the freezer paper onto the onesie makes a nice clean line. It's basically the poor-mans version of screen printing.


These ornaments have been one of my favorite Christmas items I've made! I love that I got to incorporate my mom's old cookie stamps into a craft. And they're super cheap to make to boot.


And last, but certainly not least, is the Scandinavian ribbon headband tutorial. I love making these for the craft fair I do every winter here in Los Angeles. They're fairly quick to make, and the options are endless with all the fun ribbon out there in the world!


So there you have it, folks! 5 of some of my favorite Scandinavian-themed crafts I've made through the years. What are some of your favorite Scandinavian crafts that you've made?

Monday, September 8, 2014

IKEA is the best

You may have already seen this genius IKEA commercial about their new catalog. But if you haven't, I implore you to watch it right now!


Those Swedes are pretty funny.

Saturday, September 6, 2014

Scandinavian Baking Essentials

If you love Scandinavian baking as much as I do, here is a list of popular Scandinavian pans/specialized baking equipment that you may need to add to your collection!

These tasty treats are one my favorites, and not only because of the nostalgia factor. My mom sometimes makes these at Christmas and they are so good. If you only get one thing from this list, make it this one.


You may recall me saying that I'm not a huge cake person [the horror!] - that is, with exception of Swedish almond cake. It is mouth-wateringly delicious. So delicious, in fact, that I have been known to eat it for breakfast.


These are just plain cute. Who doesn't like heart-shaped waffles?!


An essential pan for any people out there who consider themselves true Swedes. Even if you're not even a little bit Swedish, I bet you'll love Swedish pancakes. I mean, what's not to love about crepe-like pancakes covered in lingonberry jam? [answer: nothing]

While I didn't grow up eating these, that doesn't meant they're any less delicious. Try eating them without syrup and just lingonberry jam. 
Cuteness factor strikes again! Sandbakkel are adorable little cookies that can be eaten plain, or filled like a tart with yummy jam and whipped cream.


I inherited my Mom's old rossette set a while back and it's been great fun trying to make these little suckers (again, the cute factor) without burning myself. Practice makes perfect?


I don't own these [yet...hint hint, Ryan], but they make one heck of a fun cake! Traditionally only made for special occasions like weddings, Christmas, or New Years Eve.


Aebleskivers can be a bit tricky to master, but once you get the hang of 'em, there's no turning back! Traditionally they are filled with bits of apple or applesauce. Nowadays, they are more often are found served with jam, with a dusting of powdered sugar too.

These are one of my all-time favorite fika treats. They are filled with a delicious vanilla-custard and baked in a sugar cookie, of sorts. So. Good. 


If you're ready to really commit to the whole "I'm a Swede," thing, this is the item for you. Impress your family by making some homemade knäckbröd, or crispbread. Perfect addition to any smorgasbord.


I've never made lefse myself, but I certainly love eating it! Lefse is a thin potato pancake that is spread with butter and brown sugar. As you can imagine, it's both delicious and addicting.


So there you have it! A collection of Scandinavian baking pans and the like! Can you think of anything I missed? What's your favorite Scandinavian treat?

*photo source for all images used (unless otherwise noted below picture): Amazon.com
**I've added this post to the tabs up above on the blog header, for an easy + quick reference for the future

Friday, September 5, 2014

Old Swedish Books

I recently acquired these awesome, old, Swedish books. Back when Ryan and I went to Chicago for the weekend for our friend's wedding, they used these great books as part of their centerpieces. When the wedding wrapped up, I was told I could take some home! (I didn't steal them, don't worry) Luckily, Ryan had lots of room in his carry on bag!


I think old books are beautiful. They just have a certain kind of charm about them. 


Some of these books are from the 1800s! And check out this old cookbook! I have yet to try any recipes yet, but I may have to give an old, Swedish recipe a whirl.


My favorite part about them are their bindings - they are so intricate and have such neat designs. [yes, I'm aware I'm a nerd]


I put all of them up on our shelf in the living room. I love adding things to our apartment that make me smile. These remind me of our wonderful time in Chicago and of our friends' fun wedding day!

Monday, August 18, 2014

DIY Aquavit

A while back, I posted about our new little aquavit bar I made in our dining room. Ryan and I will skål with some aquavit on special occasions [like getting a new job, celebrating an anniversary, or even just having a clean apartment!], and it's become a fun tradition. Unfortunately, aquavit hasn't become a mainstream liquor here in the States [yet]. So after some stealthy google searches, I've decided to give making my own aquavit a whirl, and you probably should too.


Let the craziness begin!

You will need:

750 ml bottle of vodka
5 sprigs fresh dill
Zest of 1/2 a lemon + 1/4 of an orange
3 whole star anise
 1.5 tsp caraway seeds
3/4 tsp fennel seeds


Put your fresh dill and citrus zest into a clean, glass bottle with a lid. Using a funnel, pour your bottle of vodka into the glass bottle containing the citrus and dill.


Let infuse for 24 hours.


Remove the dill and citrus from the vodka after it has completed infusing. I did this by pouring out the contents of the bottle into another glass bottle, using a funnel and cheesecloth to catch the zest/dill.


Add caraway seeds, fennel, and star anise. Let infuse for 2-6 days, depending on the strength of flavor you are looking for. I really enjoy the anise/caraway flavor so I let it infuse for 5 days and it gave it a very pronounced anise flavor (like black licorice). Once your flavor level has been reached, discard spices.


Ta da! You've just made your very own Aquavit! Toast to something special!


Verdict: Ryan and I both loved it! It definitely had a stronger anise flavor than the Skåne brand aquavit we bought in Sweden. We really liked the nuanced flavors, including the citrus. For future batches, I may even let the citrus infuse one day longer.

If you try it, let me know how it works for you!

Monday, August 11, 2014

Easy Cold Brew Cardamom Coffee + 2 GIVEAWAYS!


You guys are in for a treat. I have 2 very special giveaway items this week! And both of them are coffee-related. What could be better than that!? CoffeeSock and Righteous Bros. Coffee both are generously giving away items just for you guys! Check back tomorrow for your chance to win a CoffeSock, and Wednesday to win 2 bottles of some Righteous Bros. cold brew! 

So, are you on the cold brew coffee wagon yet? If you're not, hop on, because this stuff is delicious and couldn't be easier to make! Not to mention, it's way more fun to drink an ice cold coffee drink in the dead of summer than a steamy hot cup of coffee, especially when you're waking up sweating from the summer heat.


If you're not familiar with cold brew coffee, here's the deal: It is less acidic than its hot brewed counterpart, and even tastes less bitter than your traditional cup of hot joe. Why, you ask? Well, because the coffee bean isn't actually being "cooked," it doesn't release as much acid, which can result in a bitter-tasting brew. By cold brewing, you're essentially just letting the water take on the flavor of the beans. When left to steep for 12-24 hours, what's left is concentrated, delicious coffee!

Ok, let's get caffeinated!

I use approximately 4-5 tablespoons of coffee per 1 cup of water. If you don't like cardamom, just leave it out [or use cinnamon!]. For my french press, I add 1.5 tablespoons of cardamom, approx 3/4 cup medium ground coffee [good quality], and 3.5 cups of water.


Pour the water over the grounds and cardamom.


Stir it up!


Ah. Just look at the frothy, coffee goodness!


Let steep for 12 - 24 hours. I usually make a batch in the evening and let it just sit out overnight, with the lid on, of course.

After your brew has steeped for a solid 12 hours (at least), slowly begin to push your plunger down until it reaches the bottom. If you press too quickly, some of the grounds will sneakily escape into your brew. If you don't have a French press, just pour your mixture through a coffee filter (or better yet, CoffeeSock!).


Once filtered, pour your cold brew into a bottle/jar and keep in the refrigerator for up to 4-7 days. When you're ready for a nice coffee drink, put a few ice cubes in a glass and add some of your cold brew with a splash of milk and homemade cinnamon syrup, if you so choose. 


Bottoms up!


And huge thanks to Ryan, for volunteering as the official taste tester for my many food adventures. He's a keeper.


Wednesday, August 6, 2014

Aquavit Station


So maybe it's because Ryan and I have been watching too much Mad Men recently, but I had the sudden urge to make a little bar in our dining room. I knew it couldn't be just any bar, though. It would have to be an Aquavit bar.


What is aquavit you ask? Well, I'm glad you asked. Aquavit is a Scandinavian liquor which tastes of anise and various other spices. The name "aquavit" is derived from the Latin word which means "water of life."  And I couldn't agree more. [just kidding, mom!]


If you too would like your very own aquavit bar but don't know where to purchase it - look no further! Bev Mo sells it apparently. Who knew?! I'm also in the process of attempting to make my own! Not distilling my own, but essentially just infusing vodka to get a similar taste. I'll be sure to post about how it compares to the real deal when it's finished.


Skål!

Monday, August 4, 2014

DIY Tea Towel Art


As you probably already know, Ryan and I moved into a new apartment back in February. Which means we've almost been there for 6 months already! I cannot quite wrap my head around this because there are still so many projects and things to do [including organizing the entire closet in our guest room, among other things]. One of the things we have yet to do is hang up art. Sure, we have a couple token things here and there, but most of our walls are pretty bare.

I don't think I ever really realized how tricky it is deciding on wall art. I mean, you're going to see it everyday. It just seems like such a big commitment. And for the past 6 months, I hadn't come across anything that I really wanted to look at everyday. Until we went to Sweden, that is!

I found these adorable Scandinavian printed tea towels while we were in Gamla Stan, Stockholm. At the time, I didn't expect to frame and hang them, but after getting home and trying to decide what to do with them I thought hanging them up was the perfect idea for our little dining room! 

So here they are, in all their glory:


Little fishies!

Lands of Sweden

And my fave, kitchen condiments:

They really brighten up the dining room, and I love the reminder of Sweden when I look at them!


Do you have a cute tea towel laying around? Make some wall art!

You will need:

Poster frame (I used this one from IKEA)
Tea Towel (Etsy has some cute ones, so does Amazon)
Spray starch + iron

To begin, iron the crap out of that tea towel. They love to wrinkle. I ended up buying starch (which I had never once used before in my life) to make sure all those pesky wrinkles came out. I tried it first without the starch, but once they were framed I kept noticing all the wrinkles that didn't come out and it drove me nuts. Trust me, you don't want to skip the starch!

Flip your frame over and follow the manufactures' directions for disassembling and reassembling. Lay your tea towel, facing outward, on the glass. Smooth out and make sure it's laying evenly and centered. Place the white paper over the tea towel and refasten the back of the frame securely. If you have a loose frame, you may want to tack the upper corners of your towel in place. The frames I used were extremely tight so I didn't have an issue with it.

Decide where to hang your new wall art!