Showing posts with label sewing. Show all posts

Saturday, December 20, 2014

Scandinavian Christmas: Day 8


Welcome back! Here we are on Day 8 already! Today we have the very talented Rachel sharing with us, who blogs over at Nest Full of Eggs. Rachel is an amazing seamstress and always is sharing the fun and creative items she sews for her children. She has participated in Scandinavian Christmas since it started! She first shared her Nordic Gift Wrap tutorial, then the Dala Horse Crown, a Glögg Tote Bag, and last year shared this adorable Children's Tomte Outfit! Please welcome back Rachel!

Scandinavian Christmas dress by nest full of eggs

Hello Pickled Herring readers! I'm Rachel and I blog at nest full of eggs. I'm American, but half of my ancestry is Swedish. What can I say? Christmas brings out the Scandinavian in me. I'm delighted to be joining the Scandinavian Christmas series again this year. In the past I have shared:


This year I am excited to show you the unique, one-of-a-kind Scandinavian Christmas dress I created. I was inspired by Saint Lucia who wears a white dress with red sash and a crown of green leaves. Recently I was out shopping at a local store. In the Christmas decorations there was a Scandinavian section where I found this woven placemat with a Scandinavian motif. Even though it wasn’t made in Scandinavia, I found it ideal for my project since it was all red and white and Christmassy (the design reminds me of Nordic knitted sweaters). It is a higher quality textile since the design is woven and not screen printed.

Scandinavian woven placemat

 This placemat became the fabric that I used for the front yoke on this dress.


 I didn’t even need to separate the two layers of the placemat, I just cut through both layers and that’s how I got the lining for the front yoke!

 So I encourage you to grab any Scandinavian textiles that you fall in love with because you can always use it in a future project.

I took some modeled photos at the American Swedish Institute (in Minneapolis, Minnesota) all decorated for a Nordic Christmas. This photo was taken in front of a Danish Christmas tree in the Denmark room on the second floor of the mansion.

Scandinavian Christmas dress by nest full of eggs

 And this photo was taken on the third floor of the mansion in front of an over one hundred year old green tiled stove from Sweden! I made this lingonberry headband that becomes the perfect accessory for the dress.

Scandinavian Christmas dress by nest full of eggs

 Lastly, one final detail to share, one last touch of red is on the back with three red buttons.

Scandinavian Christmas dress by nest full of eggs

Thanks so much for having me Kathryn!

Saturday, May 10, 2014

Simple Ribbon Headband Tutorial


It took me over a year, but I've finally put together a tutorial for the ribbon headbands! These are super simple and quick, and would be a great beginner sewing project. You can use any width of ribbon you'd like, depending on what kind of look you prefer.


I [obvoiusly] used Scandinavian ribbon. You can find a variety of Scandinavian-style ribbons on Etsy [TrimKo has quite a few options], or you can buy whatever type of ribbon you find cute at Michael's or Jo-Ann Fabrics.

You will need:
15 inches of ribbon (width of your choice)
15 inches corresponding width, backing ribbon (I used plain black/navy grosgrain)
5 inches of 1/4" thick black elastic
Scissors
Invisible thread (not pictured)

Note: These headbands are made "one size fits most". Shorten your elastic length if you are making a headband for a very small child.


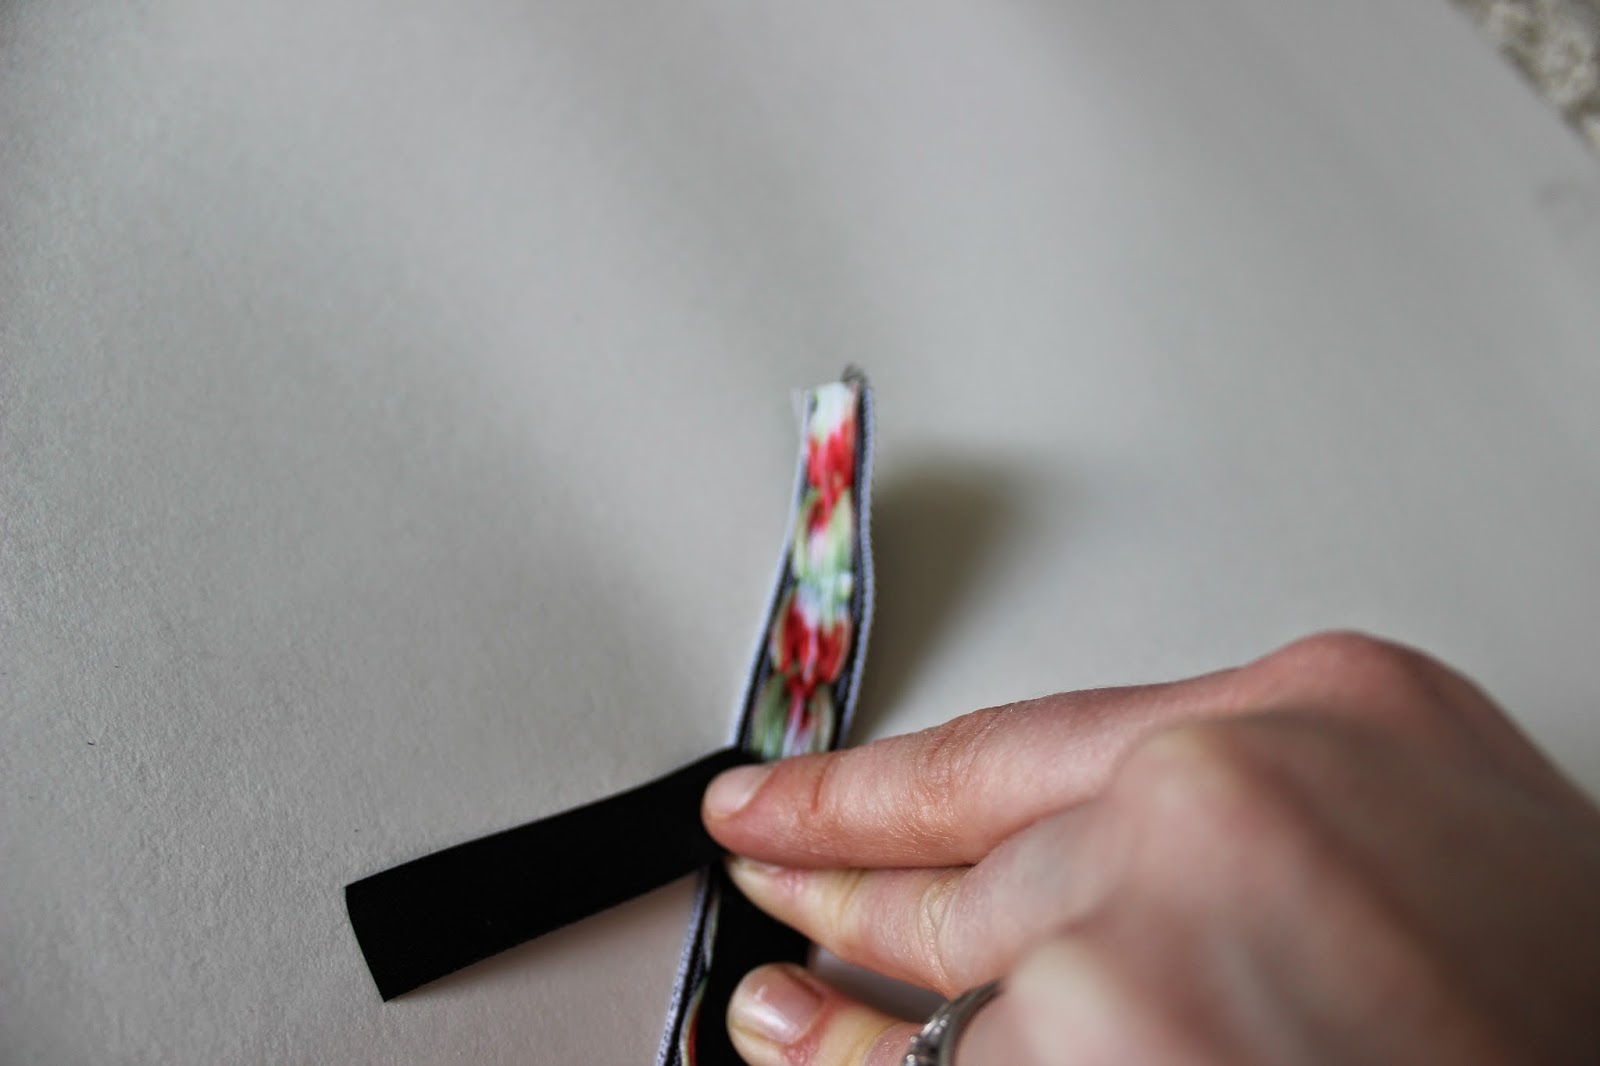
To start, place the wrongsides of your main ribbon and backing ribbon together.


Fold under the end pieces of the ribbon 1/2", and tuck 1/2" of your elastic between the two ribbons. Secure with pins and sew back and forth over the elastic, using your invisible thread. You will want to make sure you do this around 4 times to ensure your elastic won't fall out.


Once your elastic is secured on one end, sew along the outside edge of both sides, sewing together the two pieces of ribbon. Leave a 1-inch gap at the end so you can fold under the ends. Repeat the folding and elastic sewing on the other end. Make sure your elastic isn't twisted before you sew the other end! I may or may not of sewed a couple with twisted elastic...oops! 


That's it - now you can wear your new headband or give it as a fun gift!


And if you aren't feeling very crafty, you can always purchase one from my Etsy shop here!

Monday, March 3, 2014

Sister Crafting Project 2014

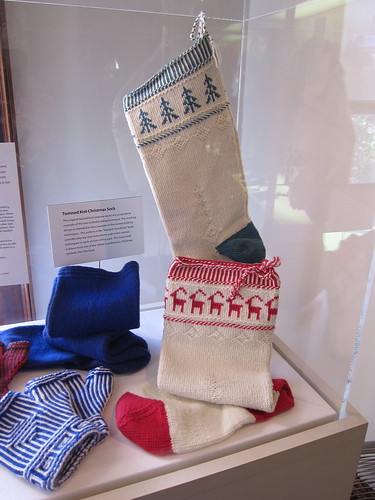
Caryn and I had our first official 2014 Sister Crafting Day meeting back in February (it's already March?!) and we've decided on our project for the year - Christmas stockings!

I received a plethora of fun crafting books for Christmas last year, and there were quite a few patterns to choose from. In the running was this Julbock stocking pattern from Swedish Handknits (also where I got the crayfish hot pad pattern I knitted recently):

[photo credit: Just Crafty Enough]

The pattern we ended up choosing is from the book, Scandinavian Needlecraft:

[photo credit: Katy Elliot blog]

I really like the heart one with the tulip border on top. Plus the snowflake one is cute too, all very Scandinavian looking, which was obviously top priority. :) I was even thinking of making the reindeer one into a Julbock instead for Ryan's stocking.

We haven't actually started making them yet, but picking out a pattern and drinking coffee counts as a craft day in my book.

In other news, our apartment is almost completely unpacked! It's a March miracle! We still need to put up some artwork to brighten it up, but it feels good to have things out of boxes and where they belong. 

Have a great week!


Sunday, September 22, 2013

Sister Crafting, continued

So, remember way back in January when Caryn (my sister) and I had great hopes to meet once a month in order to finish our homemade advent calendars for this Christmas? Well, good thing we started in January, because we still have quite a ways to go before they're complete, and time is running out!


However, I must say, we made tremendous progress on Saturday...Caryn even tried her hand at the sewing machine for the first time!!! She is a natural...even though her signature move was the "free willy": taking your hands completely off the sewing machine while pushing the peddle. [see below for a free willy action shot]


After her first pocket she exclaimed, "This is such a rush!". 


 I also overheard her giving herself little pep talks while sewing some of the pockets. My favorite was probably, "Minor setbacks happen....you didn't lose any fingers." Overall, Caryn picked up sewing right away and I think I've created a monster. 


Here is a progress shot of our advent calendars. We actually completed more pockets than shown above and we're now halfway there...meaning 25 pockets finished for one of the calendars and 25 more to go! We're going to stencil with red fabric paint, "God Jul", ("Merry Christmas" in both Swedish and Danish) across the top. They're coming together and I'm so excited to see the finished products!

Hope you all had a wonderful weekend!

Sunday, March 10, 2013

Fabric galore!!!

I was in a little part of heaven this weekend.  My sister and I had our 3rd sister craft day and we ventured to the fashion district of LA to track down some seriously cute fabric. Mission accomplished. 

My good friend, Jo, told me about the amazing fabric store known as Michael Levine. Holy cow is it amazing. Overwhelmingly amazing. I only wish I had remembered to put my memory card back in my camera so the pictures below would do it justice.

Look at all that fabric!!! And that's just one section of the store!

 Caryn with our bolts of red fabrics for the advent calendar.

 Jo starting the decision making process with her fabric choices.

 Me realizing that not only do they carry a vast amount of fabric, but yarn too!!

"There's nothing like the feeling of fresh cut fabric!"

And here below are the final five that made the cut:

And what's a girl to do when she sees some blue and yellow (the picture makes the yellow fabric look a little green-ish, I promise it's yellow in real life) adorable fabric that coordinate so well?! I already have a few projects in mind for this color/pattern combo...


All in all, the day was a raging success.


Time to get some crafting on. Happy weekend.

Sunday, March 3, 2013

DIY heat pack

I have been meaning to make a quick, rice-filled, heat pack for quite some time now and today was the day it finally got made.  After one too many instances of needing one and not having one on hand, I finally perused through my fabric stash and decided to use this old Swedish fabric calendar as the fabric.

I forgot to take a picture of the calendar before I cut it up...so here it is just pieced together. 


A short while later and here it is! Filled with rice and sectioned off into 4 rectangles.  You can microwave the entire pack and the rice retains the heat.  Voila. Cheap DIY heat pack. I used this tutorial from the blog Fellow Fellow. I love that I finally found something to use the calendar for! 


It's been a great weekend.  I can't believe it's already Monday tomorrow. My how time flies. And it's March already?! Wow.  

Hope all is well!

Thursday, January 17, 2013

Sister crafting

Well folks, it happened. My sister, Caryn (pronounced car-in, not care-in), and I held our very first 4S day.  Which stands for Second Saturday Sister Soiree. Every second Saturday of the month, we have planned to get together and get our craft on. Most of our projects will be Christmas related since our Christmas craft list is pretty ambitious and we never think of starting the projects until, uh, Christmas.  And by then it's too late.  So we are starting NOW! 

Here we are preparing for our first project: Advent calendars. 


We were in search of a Scandinavian-looking, simple designed, cute DIY calendar.  We flipped through some of my Scandinavian craft books for inspiration. 


We searched the ol' world wide web.


And finally found a couple we really liked! 

This one from Craftsy was our fave. It's simple and modern Scandinavian looking.  We are going revamp it a bit so it is even more Scandinavian too.  Instead of "December" at the top, we are going to have it say "God Jul" (Merry Christmas is Danish and Swedish). We are also going to use some Swedish ribbon for the hanging part.  I love that you can change up what you put in the pockets every year.  Growing up, we had an advent calendar that my mom would fill with mini candy canes.  


This next one was a very close second for me. I love the details and embroidery.  It's eclectic and cute. And you could easily up the Scandinavian vibe on it by embroidering a Danish heart here and a little tomte there.

Linaloo made this one (super cute blog too, check it out!):

Hannah was so excited about our advent calendar project that she threw up a little bit. 


Doesn't that face just make you smile?!

So now that Caryn and I have decided on our design, our next step is going to be saving up our craft coupons and buying our supplies. Here's to Christmas crafting in January!

I hope you are all having a great week!

Tuesday, February 14, 2012

A dress for a baby

First, Happy Valentine's Day!  Hurry for a day dedicated to eating chocolate and getting flowers!  I know I will definitely be eating my fair share of sweets today, I hope you do too.

Ok, back to sewing and crafting.  I made this wee little baby dress from Anna Maria Horner's book, Handmade Beginings, the dress is called the Pretty-as-a-Picture Dress.  A number of our friends are having babies in the near future and I thought I'd get a head start on some baby gifts! 

It uses one fabric to showcase the design in both the front and back of the dress.  I had this adorable porcupine fabric that I found in Japan and figured this would be a great use for it!


Back view: You can see how the elastic around the waistband (except for the front panel) gives the dress some cute gathers.


Front view:


And side view:


This was a great day project.  I started it in the morning and finished after lunch, with many coffee breaks in between.  I am loving Handmade Beginings, it has adorable projects for every aspect of parenthood: from diaper bags to maternity clothes to baby toys, a great range of things to create.

And if you're looking for a fun Valentine's day craft try making your own paper hearts with this tutorial:


Happy Chocolate Valentine's Day!