Showing posts with label flowers. Show all posts

Thursday, April 3, 2014

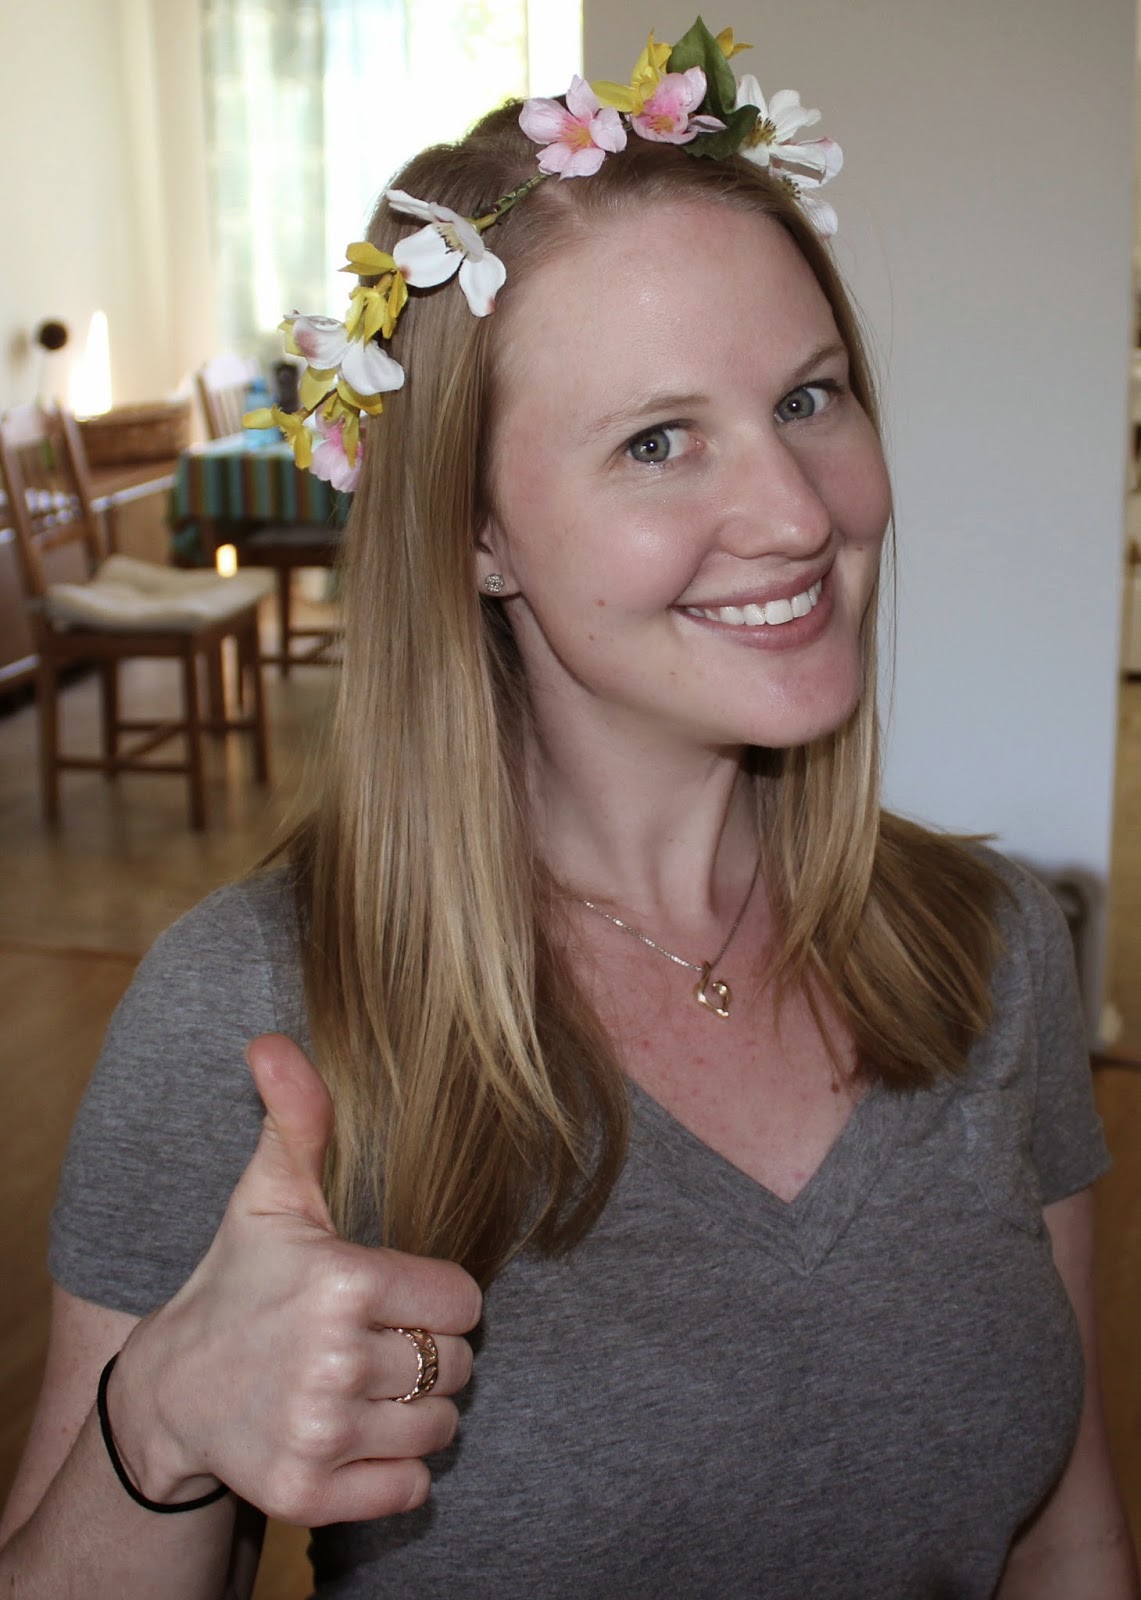
Midsommar Flower Crown Tutorial

Happy Spring, everyone!

Remember when I made a bazillion flower crowns last year for the Midsommar Fair? Well, we're not able to travel over to Kingsburg this Spring for the fair [maybe next year!], so instead I'm sharing this tutorial so you can make your very own flower crown!


You will need:

Floral wire: heavy-duty wire (comes in sticks as seen below) and the more pliable wound wire
Silk flowers - variety of colors/whatever you like

To start:
Take two pieces of the heavy-duty floral wire and twist both ends together to make a circle. Use your own head to determine how big you want your circle to be. This will be your crown base.


Break off pieces of your silk flowers in about 2-3 inch increments. Using the pliable, green floral wire, secure the silk flowers to your crown base.


Continue securing the silk flowers around the crown base with the floral wire. I like to keep the flowers all going the same direction (see photo below). I also like to overlap the flowers so there aren't large gaps in between.


You can always go back and layer more flowers if it doesn't look as full as you'd like. And if you so desire, you could always wrap over the floral wire with green floral tape. I usually don't do this part, but if you want to hide more of the wire (especially if you don't have a very full crown), it makes it look a little more finished.

Wear your crown and be glad it's finally Spring!


Sunday, May 5, 2013

Headbands

Just wanted to pop in and show you all how the headbands are coming along!
 
Here are some of the headband designs I have made so far:


All of my ribbon for the headbands I either been bought on Etsy or my mom has found at various Scandinavian stores over the years (thanks, Mom!). I backed them with a solid color ribbon and add elastic to loop them together.

My favorites are the Dala horses on blue and the red hearts with blue flowers and green vines. After all of the craft fair craziness I will post a tutorial on how to make them!

Hope you're enjoying your weekend!

Monday, April 22, 2013

Midsommar crowns

Here is a quick peek of what I've been working on lately...
 
 
These Midsommar crowns are made from silk flowers and floral wire. From some readers' suggestions, I'm making some to sell at the Kingsburg Swedish Festival (in less than a month! ah!). I think my favorite ones so far are the blue and yellow ones (shown below on the right).


Pricing things is always a bit tricky for me. How much do you think I should sell the crowns for? At the Cal Luthern Swedish Festival last weekend, they had a "make your own" Midsommar crown booth with fresh flowers (carnations, greens, and baby's breath) for $3. The crowns I made cost about $3-$4 in supplies, not including time spent on putting them together. Suggestions? 
 
In other news, I think I am finally going to bite the bullet and get a "real" camera! I'm saving up! So hopefully in the semi-near future my pictures on this blog will start looking a little better. :)
 
Happy Tuesday!

Saturday, February 26, 2011

A day in the flower park


Ryan and I were able to spend a beautiful Friday strolling through the Mito plum blossom flower park. It was glorious. Here is a small glimpse of what we enjoyed:


"The Earth laughs in flowers."
-Emerson

Have a joyous weekend!

Tuesday, February 15, 2011

A cute jumper for a cute niece

This is my 2nd project (1st one here) from the One Yard Wonders craft book I got for Christmas. It's a playful jumper/dress for my niece! Unfortunately, I can't take any pictures of her in it because I won't see her until I'm home from Japan (in less than 2 months, woah!).


This was a very straightforward project and the directions were fairly simple. It didn't take very long either, it could easily be finished in a day. The measurements for the elastic were a little big so I took off about 2 inches to get the jumper to the size I needed.


I've really been enjoying the One Yard Wonders book, it has lots of quick and simple projects. Not to mention it helps me think of ways to decrease my ever-growing stash of fabric. If you're into craft books, be sure to check out Rachel's month-long series over at her blog, Nest Full of Eggs, she's reviewing a different 2010 craft book everyday!

Tuesday, February 1, 2011

Staying warm

Everyone seems to be talking about "snowpocalypse" so I thought it only fitting to post about ways to stay warm this winter season.

Tip numero uno: wear a hat. You've probably heard the old saying that you loose 90% of your body heat through your head, too bad that's not true. Although I don't know the exact percentage of body heat lost, I do know it's important to wear a hat to keep your little ears from getting frostbite.


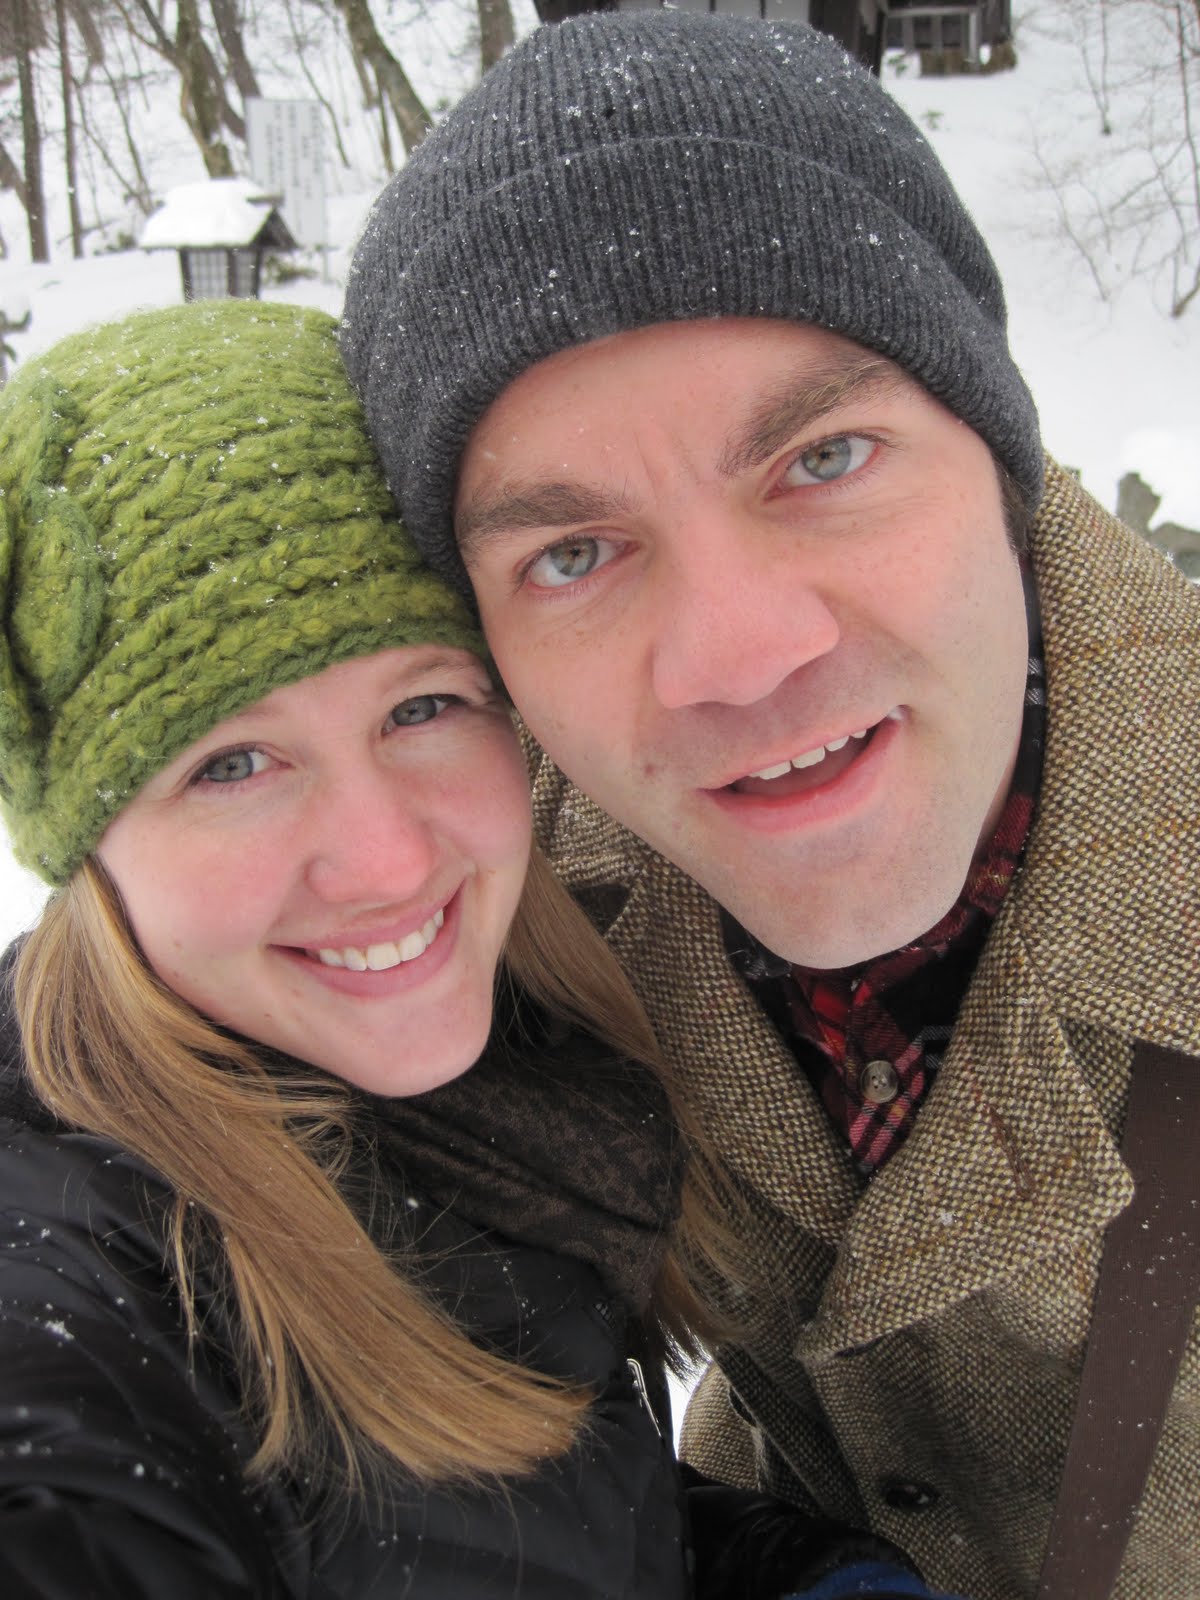
Ryan and I went to Nasu (a small mountain town in Japan) last weekend where the snow was piled high and the temperatures below freezing. Luckily, we had hats. Well, mine isn't technically a hat but it did it's job. So much so that I wanted to try making one.

I bought some fleece and got to sewing! I used my green knit one to make a pattern then cut, sewed, and added the rolled fleece flowers for a little decor.


What I love about these head wraps is you can wear them when you have a ponytail in. I usually am wearing a ponytail so these are perfect for me. But you can definitely wear them with your hair down too, it's a win-win.


I also love the button closure, I think it adds a little cuteness to the whole thing. What's also great is they are wide enough that it feels like you're wearing a hat, not just one of those ear bands that always slide off and don't keep you very warm.

The rolled flowers were super duper easy to make. I'm sure there are tons of tutorials floating around on how to make them if you google "rolled fabric flower". I just used 1/2" wide strips of fleece, twisted and rolled it into a flower shape while using hot glue to secure it as I went.

I made a couple extra so I used one bigger one to make this headband, ta-da!


Stay warm, stay safe and drink lots of coffee!

Wednesday, October 20, 2010

Wedding Brainstorm!

Ryan and I have been in the thick of wedding planning recently. We've made some big decisions and I'm getting more and more excited for the big day!

But I'm even MORE excited to just be married to Ryan.
I mean, just look at that face.

We're thinking carrot cake for the wedding cake. Yum.

And I am in love with this wedding topper. So. Cute.
Plus, they're salt and pepper shakers so we could use them after the wedding!

And I'm liking the concept of this centerpiece.


I think it would be neat to get a bunch of vases from thrift stores and spray paint them all the same color (white? blue? yellow?) and put real flowers or these whimsical origami ones (I'm just not sure I'm that patient to fold that many flowers).

There's still a lot to decide, plan and create but I'm sure having fun doing it!

Tuesday, August 24, 2010

Wedding Flowers

These days there are so many options when it comes to picking out flowers for your wedding. Silk, fabric, paper, and even items like button bouquets or egg carton flowers are becoming popular. Of course, you can always go with the real deal too.

Ryan and I are pretty sure we'll use real flowers for the ceremony, but are looking at more cost-effective options for the reception and centerpieces. I love the idea of making our own centerpieces and flowers, it's just a matter of choosing which to make. Here are some of the options "we're" (I think Ryan's just seen the egg carton ones...) looking at:

  1. Egg carton flowers at the Intimate Wedding Blog


2. Oragami flowers at Style Me Pretty


3. Button flowers at Getting Married
What ones do you like the best? Any other good ideas?