It took me over a year, but I've finally put together a tutorial for the ribbon headbands! These are super simple and quick, and would be a great beginner sewing project. You can use any width of ribbon you'd like, depending on what kind of look you prefer.
I [obvoiusly] used Scandinavian ribbon. You can find a variety of Scandinavian-style ribbons on Etsy [TrimKo has quite a few options], or you can buy whatever type of ribbon you find cute at Michael's or Jo-Ann Fabrics.
You will need:
15 inches of ribbon (width of your choice)
15 inches corresponding width, backing ribbon (I used plain black/navy grosgrain)
5 inches of 1/4" thick black elastic
Scissors
Invisible thread (not pictured)
Note: These headbands are made "one size fits most". Shorten your elastic length if you are making a headband for a very small child.
Note: These headbands are made "one size fits most". Shorten your elastic length if you are making a headband for a very small child.
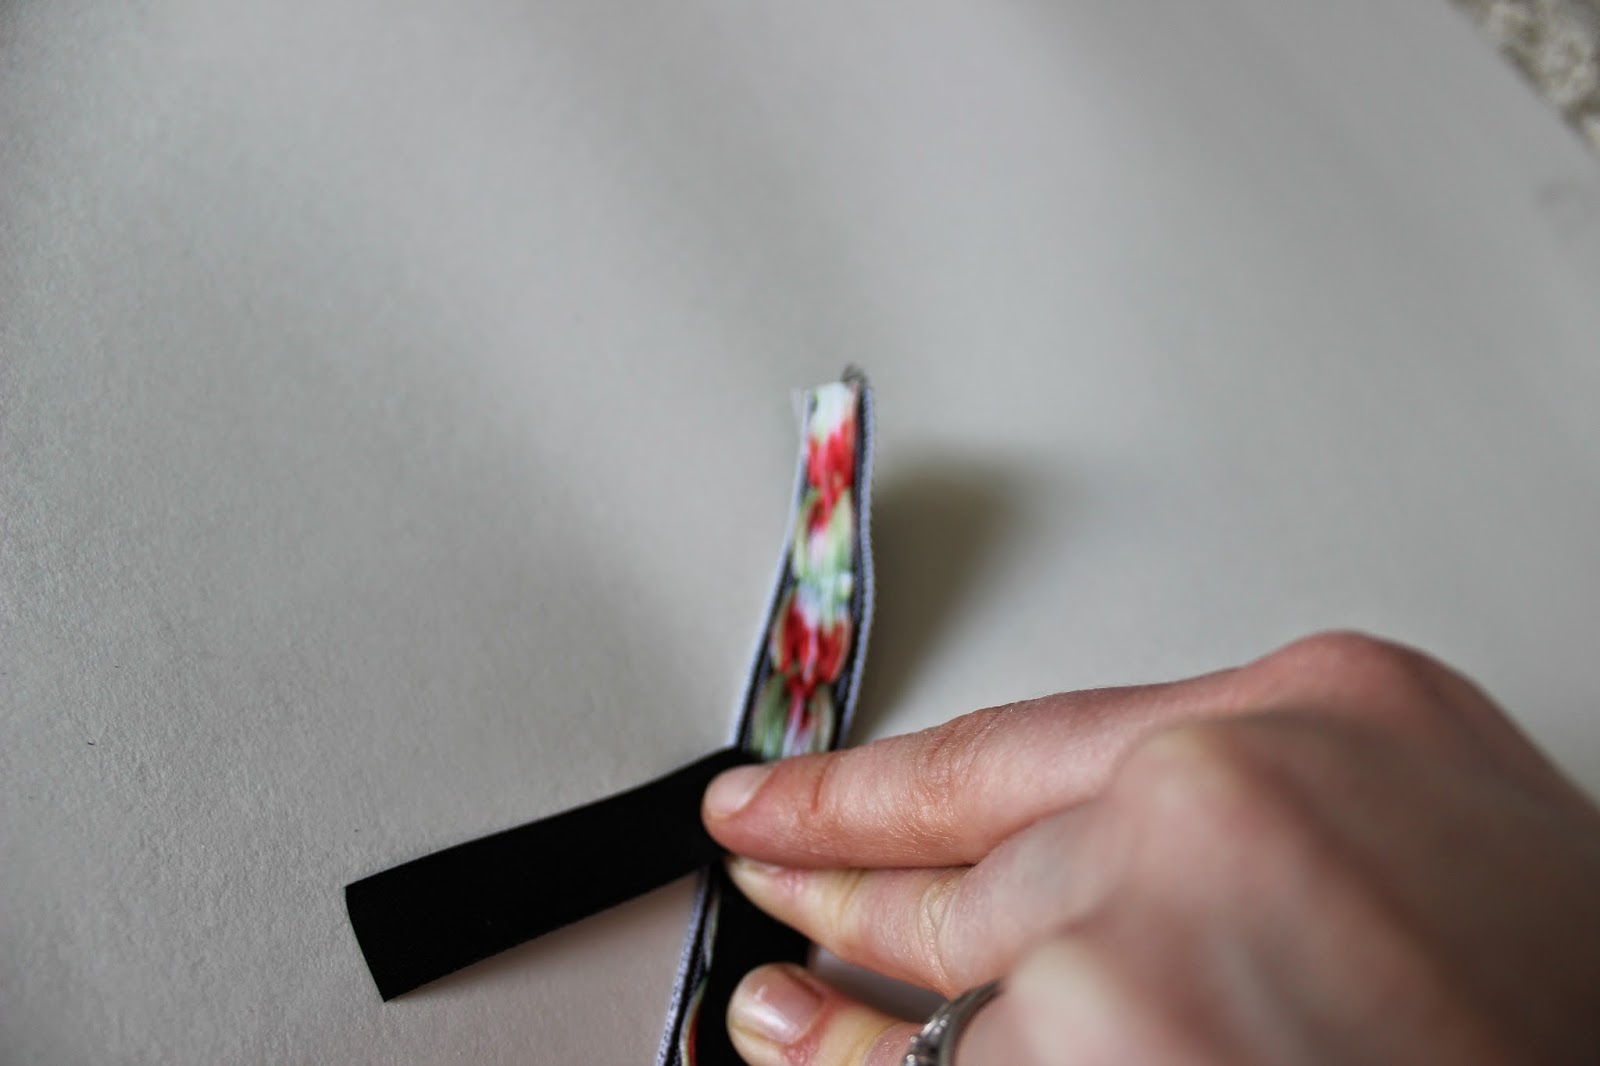
To start, place the wrongsides of your main ribbon and backing ribbon together.
Fold under the end pieces of the ribbon 1/2", and tuck 1/2" of your elastic between the two ribbons. Secure with pins and sew back and forth over the elastic, using your invisible thread. You will want to make sure you do this around 4 times to ensure your elastic won't fall out.
Once your elastic is secured on one end, sew along the outside edge of both sides, sewing together the two pieces of ribbon. Leave a 1-inch gap at the end so you can fold under the ends. Repeat the folding and elastic sewing on the other end. Make sure your elastic isn't twisted before you sew the other end! I may or may not of sewed a couple with twisted elastic...oops!

That's it - now you can wear your new headband or give it as a fun gift!

And if you aren't feeling very crafty, you can always purchase one from my Etsy shop here!


Thank you for the tutorial ~ I have some dala horse ribbon and want to make one of these :)
ReplyDelete