Showing posts with label DIY. Show all posts

Wednesday, January 21, 2015

Life in a nutshell

Happy New Year, everyone! 2015 is going to be great.

I can't believe my pregnancy is already over halfway done. What. How did that happen so fast? We've been slowly cleaning out our guest room and turning it into our baby room, and it's starting to come together. And by starting to come together, I basically just mean it's become a baby storage room. Definitely have a ways to go with all that, but we have time.

Maybe it's nesting, or maybe I'm just finally getting my act together, but I've been spending my weekends on all of the various apartment projects that have been on my list forever. Among them include this amazing, life-changing, rolling kitchen storage shelf:

[Apologies in advance for the poorly lit iPhone photos that follow]


I'm obsessed with this thing. We don't have a pantry in our kitchen, so many of our cupboards have become a pseudo pantry which just ends up taking away the cupboard space we actually need. This shelf is the best at maximizing the small space. It was pretty easy to assemble - I used this tutorial loosely. We made our version shorter, didn't use the dowels (they would have greatly limited what could fit on the shelves + we haven't had any problems with things falling out without them), and only used two casters on the bottom instead of 4. Now more things fit in our kitchen - it's amazing! It came together surprisingly fast, too. We put it together in a day, including painting and drying time. Ryan was the spray painting master of this project and he did a bang up job.

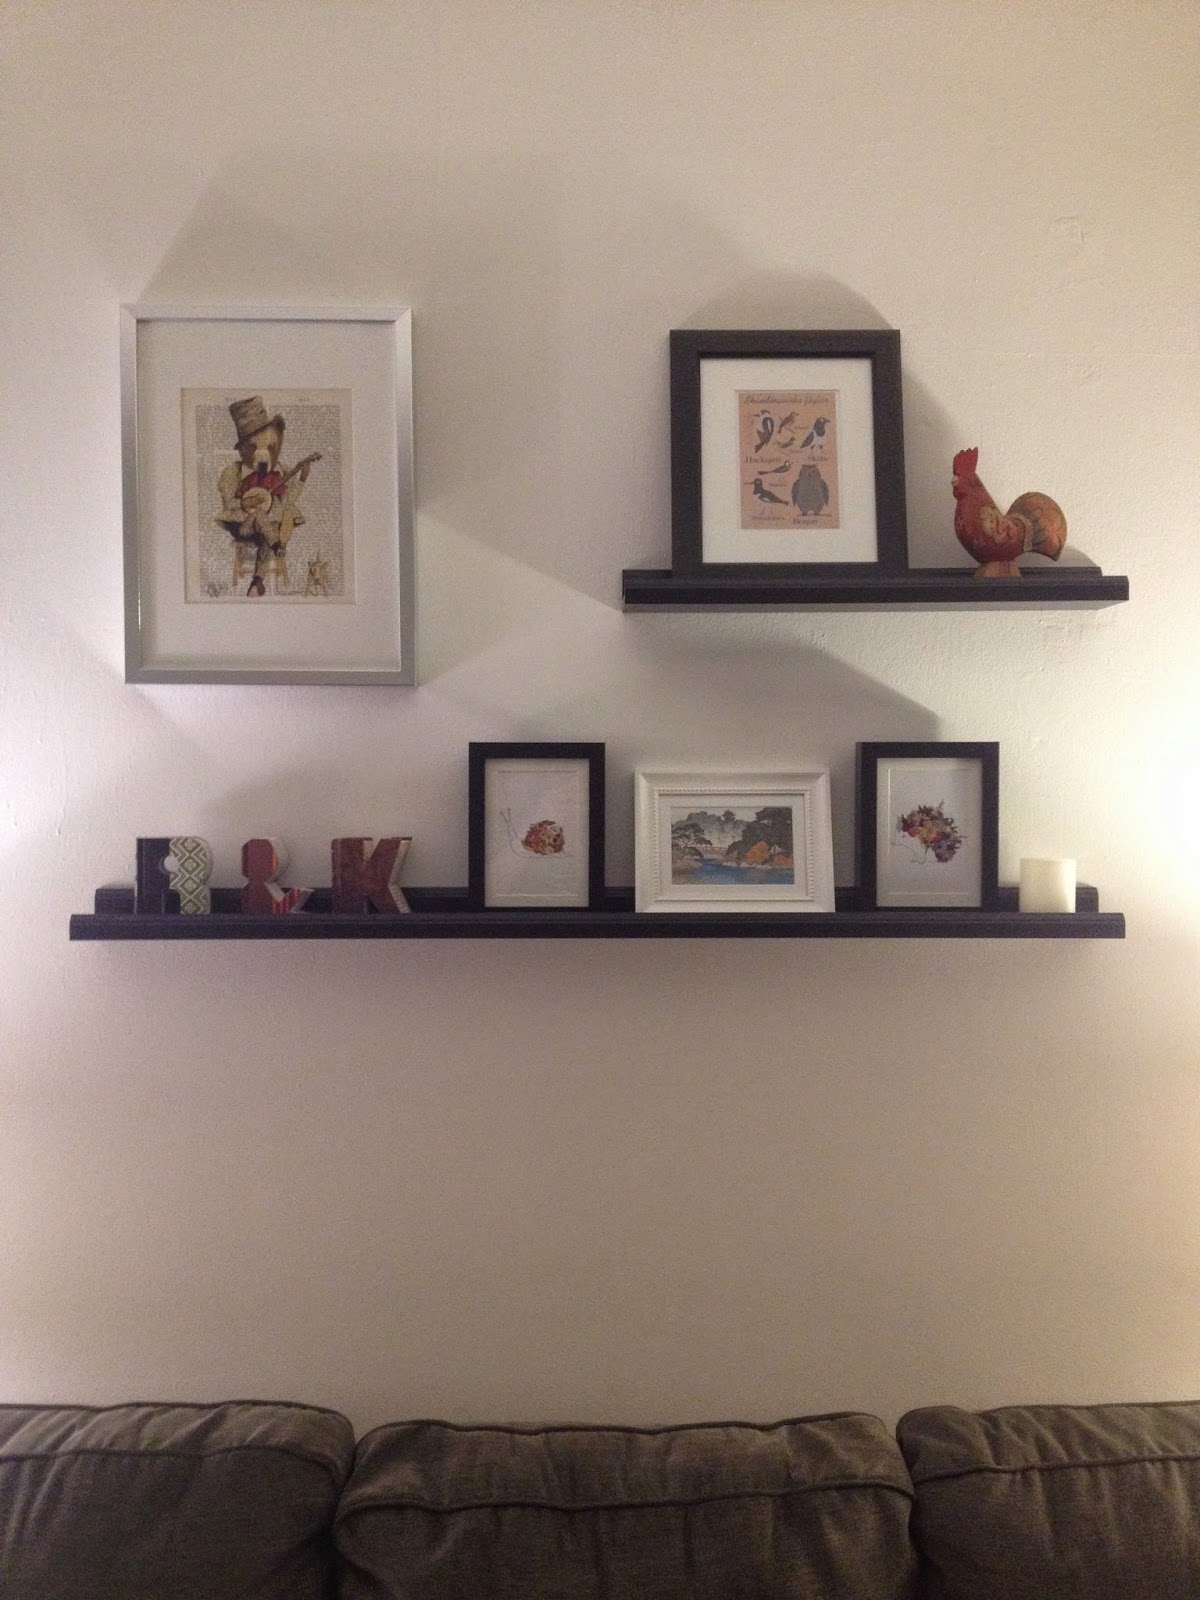
Another project Ryan and I tackled was installing these shelves above our couch. I think I've mentioned it before, but I have a hard time to committing when it comes to decorating/hanging art. These picture ledges are perfect. They let us change up the decor without having to leave gaping holes in our walls. Win.


And last, but certainly not least, I spent a good chunk of my day off on Monday repotting plants, propagating some succulents, and cleaning our patios. We have two small balcony/patio areas in our apartment but we haven't done much with them other than storing our plants out there. We finally bought a cute plant stand and I salvaged what plants were left. Plus I bought a hummingbird feeder! I've been wanting one for a while, but decided to bite the bullet. I'm so glad I did. I love watching it in the morning while I drink my coffee - it makes the morning a tad more enjoyable [for me, a non-morning person].

Well, I think that's all for now! Thanks for reading the book I just wrote. Hope your 2015 is off to a great start!


Wednesday, October 22, 2014

A little avocado tree

A few months back, after I ate a delicious avocado, I decided to look up how to grow an avocado tree from the pit. Lo and behold it was so simple (but it took quite a while...)! I used these instructions here which basically entails sticking toothpicks in the pit and keeping the bottom half submerged in water until the root starts to form. Some people seem to have luck with this happening in 2-3 weeks. Mine, however, took much longer - more like 2 months before the root really started to break through. But it was worth the wait!

After the root grew, I transplanted the pit to an outdoor pot. Then the growing really took off! It shot right up and leaves started sprouting!


And here it is today, much bigger and still growing!


While it will be years before any avocados will actually grow, it's really fun to watch the pit turn into a little tree. Keep it up little guy!


Hope you're having a lovely week!

Saturday, September 6, 2014

Scandinavian Baking Essentials

If you love Scandinavian baking as much as I do, here is a list of popular Scandinavian pans/specialized baking equipment that you may need to add to your collection!

These tasty treats are one my favorites, and not only because of the nostalgia factor. My mom sometimes makes these at Christmas and they are so good. If you only get one thing from this list, make it this one.


You may recall me saying that I'm not a huge cake person [the horror!] - that is, with exception of Swedish almond cake. It is mouth-wateringly delicious. So delicious, in fact, that I have been known to eat it for breakfast.


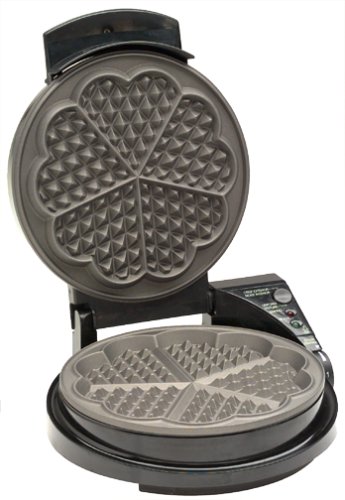
These are just plain cute. Who doesn't like heart-shaped waffles?!


An essential pan for any people out there who consider themselves true Swedes. Even if you're not even a little bit Swedish, I bet you'll love Swedish pancakes. I mean, what's not to love about crepe-like pancakes covered in lingonberry jam? [answer: nothing]

While I didn't grow up eating these, that doesn't meant they're any less delicious. Try eating them without syrup and just lingonberry jam. 
Cuteness factor strikes again! Sandbakkel are adorable little cookies that can be eaten plain, or filled like a tart with yummy jam and whipped cream.


I inherited my Mom's old rossette set a while back and it's been great fun trying to make these little suckers (again, the cute factor) without burning myself. Practice makes perfect?


I don't own these [yet...hint hint, Ryan], but they make one heck of a fun cake! Traditionally only made for special occasions like weddings, Christmas, or New Years Eve.


Aebleskivers can be a bit tricky to master, but once you get the hang of 'em, there's no turning back! Traditionally they are filled with bits of apple or applesauce. Nowadays, they are more often are found served with jam, with a dusting of powdered sugar too.

These are one of my all-time favorite fika treats. They are filled with a delicious vanilla-custard and baked in a sugar cookie, of sorts. So. Good. 


If you're ready to really commit to the whole "I'm a Swede," thing, this is the item for you. Impress your family by making some homemade knäckbröd, or crispbread. Perfect addition to any smorgasbord.


I've never made lefse myself, but I certainly love eating it! Lefse is a thin potato pancake that is spread with butter and brown sugar. As you can imagine, it's both delicious and addicting.


So there you have it! A collection of Scandinavian baking pans and the like! Can you think of anything I missed? What's your favorite Scandinavian treat?

*photo source for all images used (unless otherwise noted below picture): Amazon.com
**I've added this post to the tabs up above on the blog header, for an easy + quick reference for the future

Monday, August 18, 2014

DIY Aquavit

A while back, I posted about our new little aquavit bar I made in our dining room. Ryan and I will skål with some aquavit on special occasions [like getting a new job, celebrating an anniversary, or even just having a clean apartment!], and it's become a fun tradition. Unfortunately, aquavit hasn't become a mainstream liquor here in the States [yet]. So after some stealthy google searches, I've decided to give making my own aquavit a whirl, and you probably should too.


Let the craziness begin!

You will need:

750 ml bottle of vodka
5 sprigs fresh dill
Zest of 1/2 a lemon + 1/4 of an orange
3 whole star anise
 1.5 tsp caraway seeds
3/4 tsp fennel seeds


Put your fresh dill and citrus zest into a clean, glass bottle with a lid. Using a funnel, pour your bottle of vodka into the glass bottle containing the citrus and dill.


Let infuse for 24 hours.


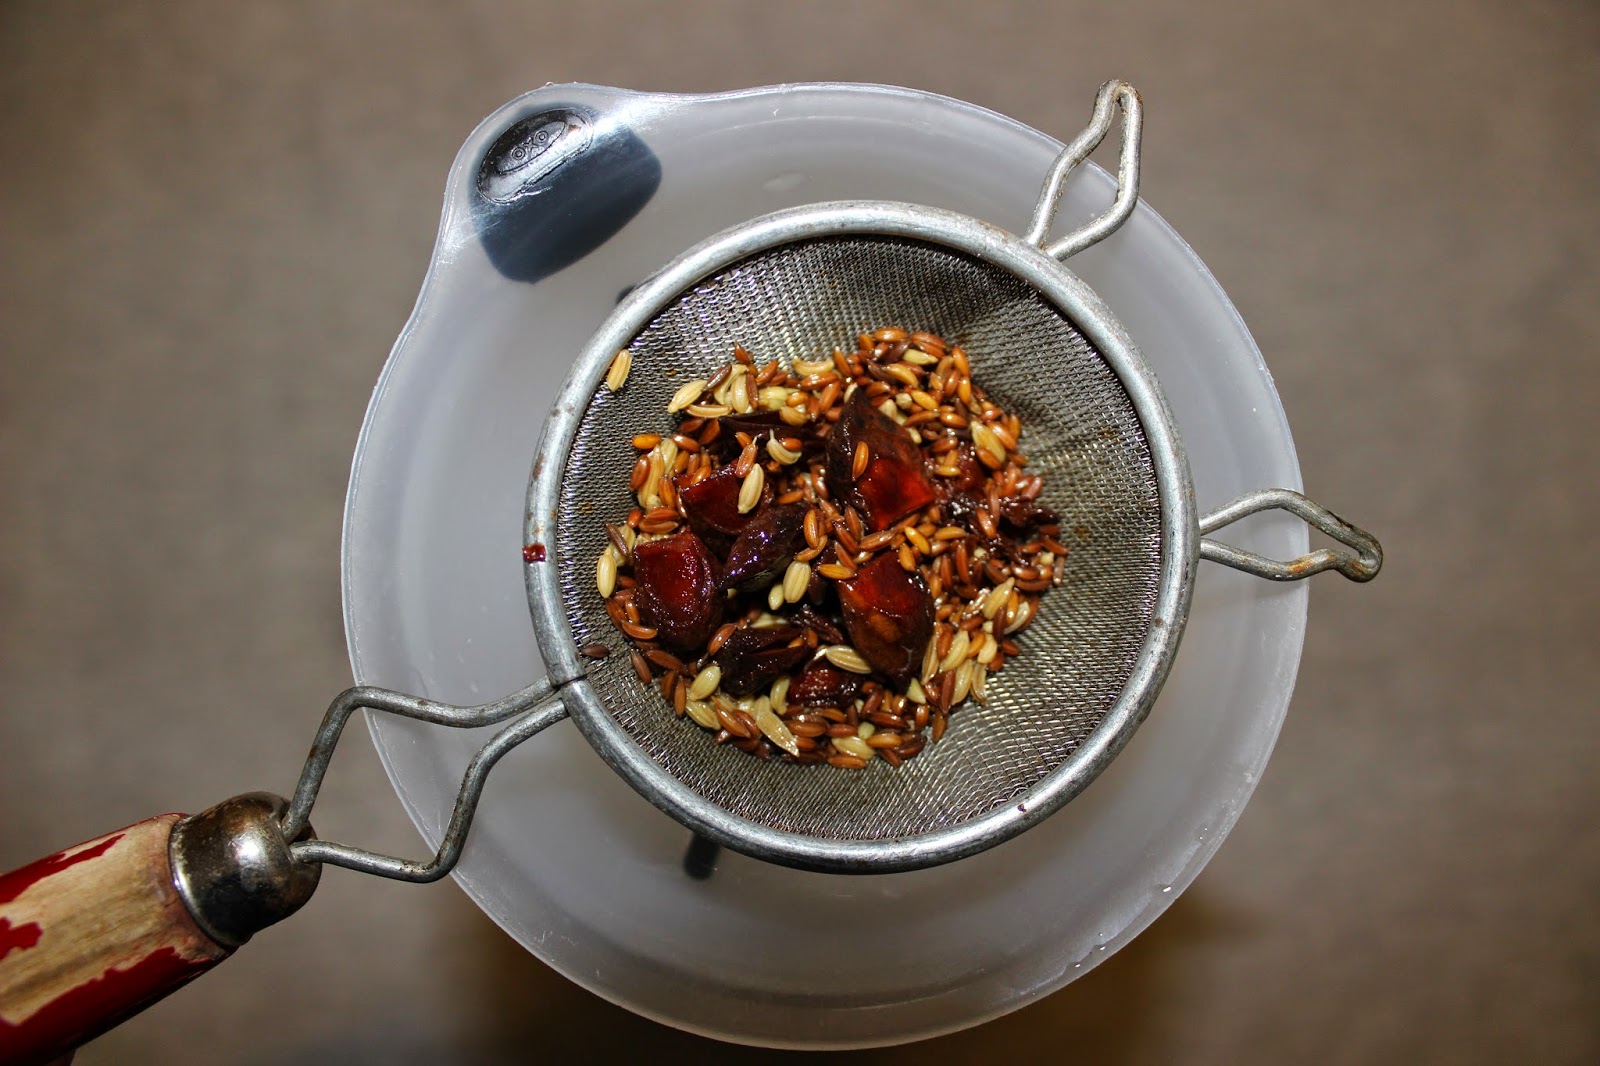
Remove the dill and citrus from the vodka after it has completed infusing. I did this by pouring out the contents of the bottle into another glass bottle, using a funnel and cheesecloth to catch the zest/dill.


Add caraway seeds, fennel, and star anise. Let infuse for 2-6 days, depending on the strength of flavor you are looking for. I really enjoy the anise/caraway flavor so I let it infuse for 5 days and it gave it a very pronounced anise flavor (like black licorice). Once your flavor level has been reached, discard spices.


Ta da! You've just made your very own Aquavit! Toast to something special!


Verdict: Ryan and I both loved it! It definitely had a stronger anise flavor than the Skåne brand aquavit we bought in Sweden. We really liked the nuanced flavors, including the citrus. For future batches, I may even let the citrus infuse one day longer.

If you try it, let me know how it works for you!

Friday, August 8, 2014

DIY Cinnamon Sweetener / Simple Syrup


Lately, I've been all about cold beverages. It's probably because of the LA heat, but besides my morning cup of hot joe, I can't bring myself to drink hot coffee in the afternoon anymore. What's happening to me?! Fear not. I found a way to work in my daily coffee intake by whipping up some fun iced coffee beverages. Infused simple syrups! This cinnamon one has been my recent fave (I'll have to share the cardamom one later!), and it's positively delightful in a cup of cold brew iced coffee with milk.

Here's how I made it:

Ingredients:
1.5 cups water
1.5 cups sugar
5 cinnamon sticks
You can increase amounts to make more, just use equal parts sugar and water and up the spice.

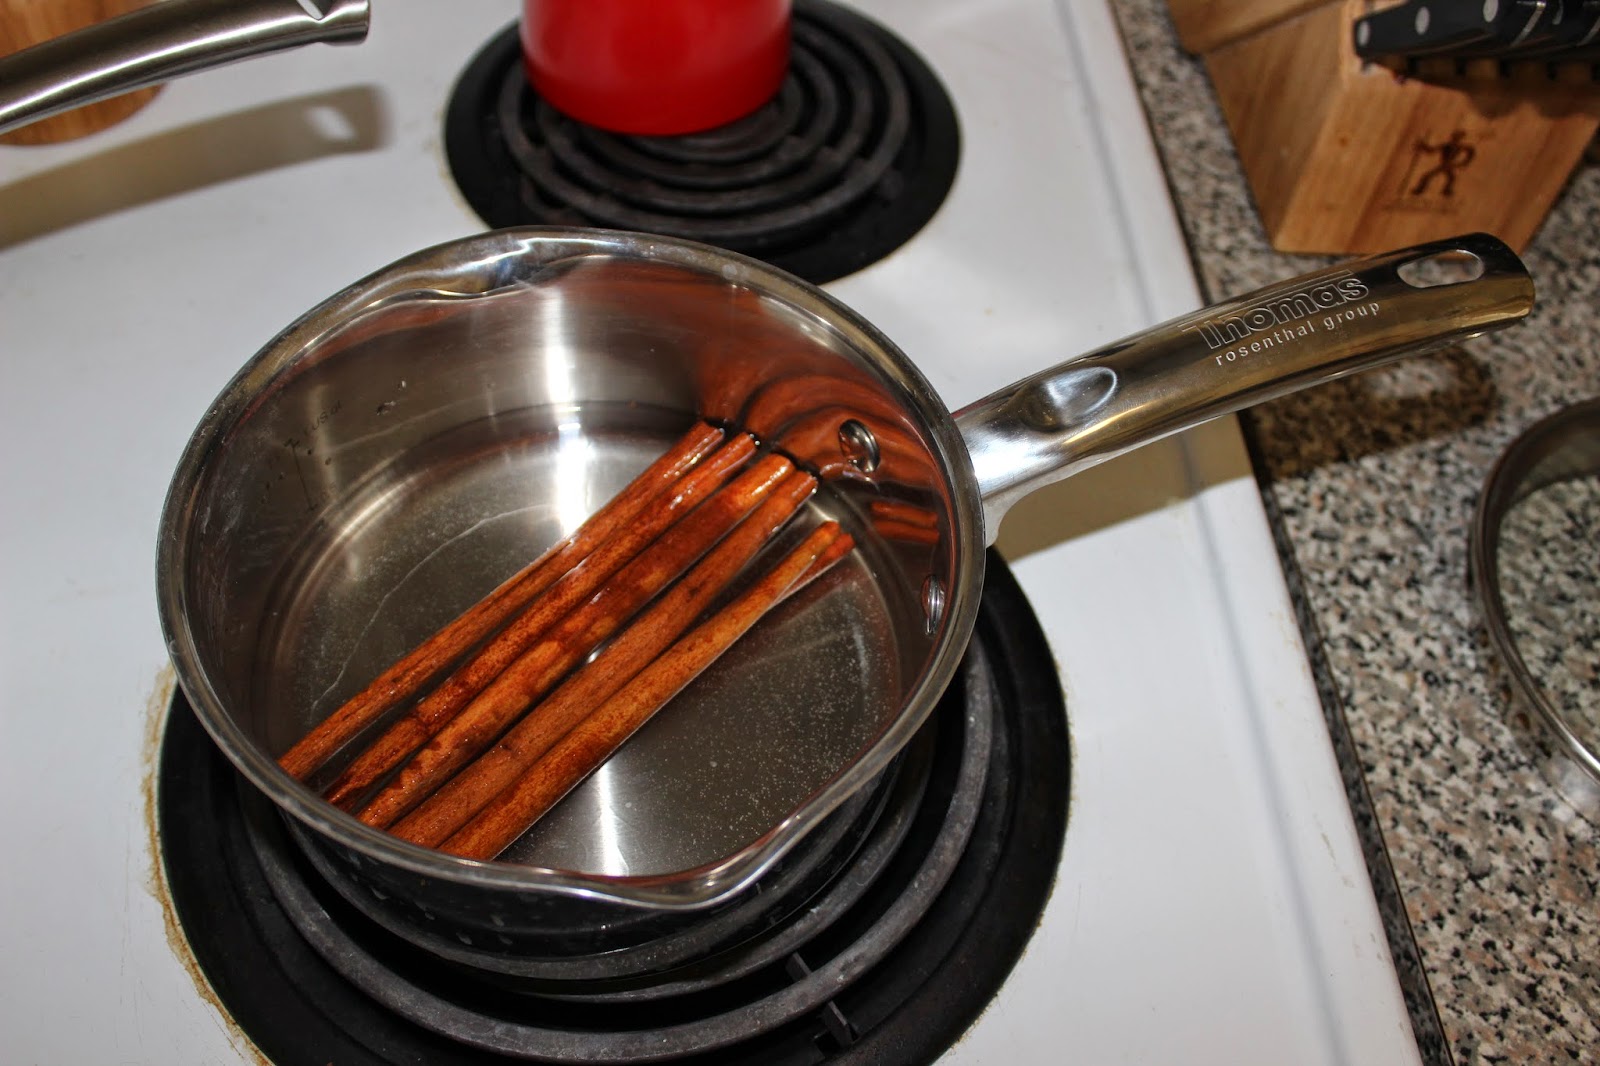
Bring the water to a boil in a small saucepan. Once it reaches a boil, add the cinnamon sticks and let steep for about 5 or 10 minutes.


The water should look a bit brown like the cinnamon has infused.

Remove the cinnamon sticks from the water and add the sugar. Stir until all the sugar is dissolved.

Bottle it up!

Enjoy in iced coffees, hot coffees, hot chocolate, or even a fancy schmancy cocktail! It will keep well in the refrigerator for at least 2 weeks.


I have been loving this stuff with cold brew coffee...so good! It's delicious all year round - but espeically during the holidays when things start cooling down (my favorite time of year!). This will warm up any drink! One day, I may even create a Shutterfly recipe book to keep track of all the creations I've tried.

Stay tuned! I'll be sharing a fun cold brew coffee tutorial next week, which includes 2 awesome giveaways

Don't miss out - August 11!


Monday, August 4, 2014

DIY Tea Towel Art


As you probably already know, Ryan and I moved into a new apartment back in February. Which means we've almost been there for 6 months already! I cannot quite wrap my head around this because there are still so many projects and things to do [including organizing the entire closet in our guest room, among other things]. One of the things we have yet to do is hang up art. Sure, we have a couple token things here and there, but most of our walls are pretty bare.

I don't think I ever really realized how tricky it is deciding on wall art. I mean, you're going to see it everyday. It just seems like such a big commitment. And for the past 6 months, I hadn't come across anything that I really wanted to look at everyday. Until we went to Sweden, that is!

I found these adorable Scandinavian printed tea towels while we were in Gamla Stan, Stockholm. At the time, I didn't expect to frame and hang them, but after getting home and trying to decide what to do with them I thought hanging them up was the perfect idea for our little dining room! 

So here they are, in all their glory:


Little fishies!

Lands of Sweden

And my fave, kitchen condiments:

They really brighten up the dining room, and I love the reminder of Sweden when I look at them!


Do you have a cute tea towel laying around? Make some wall art!

You will need:

Poster frame (I used this one from IKEA)
Tea Towel (Etsy has some cute ones, so does Amazon)
Spray starch + iron

To begin, iron the crap out of that tea towel. They love to wrinkle. I ended up buying starch (which I had never once used before in my life) to make sure all those pesky wrinkles came out. I tried it first without the starch, but once they were framed I kept noticing all the wrinkles that didn't come out and it drove me nuts. Trust me, you don't want to skip the starch!

Flip your frame over and follow the manufactures' directions for disassembling and reassembling. Lay your tea towel, facing outward, on the glass. Smooth out and make sure it's laying evenly and centered. Place the white paper over the tea towel and refasten the back of the frame securely. If you have a loose frame, you may want to tack the upper corners of your towel in place. The frames I used were extremely tight so I didn't have an issue with it.

Decide where to hang your new wall art!

Monday, June 2, 2014

Prepare to DYE!

I had one heck of a good weekend. On Saturday, I spent my morning at Windy Hill Alpaca Farm taking a natural dyeing class called, "Prepare to Dye!". I loved it, and not only because of the pun in the class title. Ryan surprised me by finding this class all on his own and booking it for me. One of the best surprises ever! He knows me well.


My favorite dye we practiced Saturday was definitely mint [2 right skeins]. We dyed small skeins of alpaca yarn that started off as white/cream. I just love how the mint turned into a sage-y green color. I learned a lot, and am excited to experiment with other natural dyes - I'm even going to give dyeing with wine a whirl!


Since the class was on an alpaca farm, I naturally walked around and saw a bunch of alpacas. Including this 1-day old baby alpaca! 


I ended the day going to my sister's place with Ryan to babysit our nephew and niece. We had some serious bubble time.


Hannah was obsessed with blowing bubbles. Obsessed I tell you.


What a glorious weekend!

Wednesday, April 30, 2014

Dala Horse Soap: Tutorial


It's no secret that I'm a little obsessed with all things Scandinavian, including Dala horses. So when I received this Dala horse baking pan from IKEA that came with a mini Dala horse pan, I started brainstorming what I could make with it. I've always wanted to try my hand at soap making, and figured what would be cuter than little Dala horse soaps! I decided for a clementine-poppy-seed soap, the poppy seeds acting as a great way to exfoliate, and am quite happy with how they turned out.

Want to make your own? You will need:

Shea soap base, can be found at Michaels - (use a 40% off coupon  and it's only $6!)
Soap molds - I used my small Dala horse pans from IKEA, you could also use mini-muffin tins
Scents/add-ins - 1 tsp clemetine zest and 1 tsp poppy seeds
Coloring - optional (I didn't use)


Break off 6 cubes of the soap base, which is just enough to make 2 Dala horse soaps. Heat soap in a microwave-safe bowl for 30 seconds. Stir and microwave again in 10-second increments, stirring in between, until it is completely melted.
Stir in your scents/ingredients, and any coloring if desired.
Pour directly into your molds. Tap lightly on surface to release any air bubbles.


Allow to set for at least an hour before removing from molds. If your molds don't bend (like the Dala horse pans), you may need to pry one edge out for it to release completely. I used a toothpick and it barely left a mark.


Lather up and enjoy!